Spot Metering

Metering measurements are made from a spot about the size of the centre focusing bracket seen on the glass. Regardless of which focusing area is chosen the highlighted focus area becomes the active spot for the calculation for correct exposure. Everything inside the spot is averaged for exposure determination.
Bright or dark areas within the spot will give extreme readings.
Centre weighted Metering

Matrix Metering

By gathering info from red, green and blue sensors and factoring in distance and information provided by the lens it is capable of a correct exposure calculation. This method analysis a scene's overall brightness, contrast and lighting characteristics, even in challenging situations.
Exercise 28. Measuring exposure.
This exercise is presented in two parts,
Part 1. where I am required to produce several photographs which are deliberately lighter or darker than average.

Fig 1.
shutter speed 1/1000 sec. -3.5EV
A deliberately darker than average image.
This image I have selected was taken from first floor window at home in France, directly into the sun, as I wish to try to create a silhouette. The sun being very high in the sky and behind the subject.
I chose the centre weighted metering system for this attempt, and a manual setting, so that I could experiment with creativity.
I left the ISO at 100 and chose an aperture of f/11. I wanted as little light as possible to create the silhouette effect, and it very nearly worked except for touches of green, although very dark from the Hazelnut tree in the foreground.
Obviously there is a little highlight from the sun in the image..

Fig 2.
shutter speed 1/350 sec. -1.5EV
Darker than average.
This was taken locally just about 5 minutes before a hail storm arrived. I deliberately darkened the image, to create a night sky. The exposure metering was Matrix, and I chose Aperture priority and as I wanted to keep as much light on the building I chose to use f5.6 and flash. The white balance I moved to cloudy.
The resulting image is clear in some of the fine detail, such as hedging and tree detail, the little sun that was behind me just highlighted the higher part of the pole, and the sun has created some reflections.
Adobe RGB colour space is now selected on my camera after fine tuning and whether this has helped in me achieving an image of good colour, I am not sure.

Fig 3.
This is an experiment for me, with light coming through a large window and capturing movement. I wanted to try to create a translucent effect on the petals of the Gerbera as it was in motion. The light coming in through the window bounced off the glass surface of the table. For this image I chose spot metering and changed the white balance to sun. I increased the ISO to 160, and the aperture selected was f/22, which was very small. To capture the movement and softness in the image a shutter speed of 1/4 second was used.
The resulting image I am quite pleased with, I have achieved the translucency that I wanted, being able to see through the layers of petals, to the shapes beyond. There are just one or two very small highlights in the foreground, which I expected from theses settings.
Part2.
Matrix Metering.
For this first set of images I found a very bright corner in a courtyard that was in was in full sun, and it was midday. I chose to set up my tripod so that the sun was to my left which caused the wall in the background to be in the shade and the foreground and lemon tree bathed in light, with the sun creating reflection on the wall.
My camera was set to Aperture Priority f/5.6
ISO 100
Auto white balance
Standard Lens 18 - 105mm

Fig 1.
Camera's correct metered reading of 1/300 sec

Fig 2.
Metered Exposure - + 0.5
My preferred image. The scene is quite bright and there is a lot of detail to be seen from the individual fruits to the textures stone work. Having looked at spot metering I now wonder if I should have concentrated on the fruits and used spot metering as an option.
My preferred image. The scene is quite bright and there is a lot of detail to be seen from the individual fruits to the textures stone work. Having looked at spot metering I now wonder if I should have concentrated on the fruits and used spot metering as an option.

Fig 3.
Metered Exposure - +1.0
Clipping on the highlights and a loss of sharpness here.
Overexposed with highlights blown on the wall. Added light shows detail in shaded area and loss of definition in the reflections of plant in foreground.

Fig 4.
Metered Exposure of -0.5
Underexposure shows and creates more detail, from front to back line of pots drawing eye to plant at rear, particularly the yellow shrub.

Metered Exposure -1.0
Loss of detail in the shaded area of the forecourt
My second set of images are composed and taken using the Matrix metering. I have set my camera up slightly differently for this set of images, after taking stock of the other images for this exercise. I reverted back to my camera manual and made a few changes to my settings to hopefully improve the quality of the images I make. The changes I made were small ones:
- Active D Lighting - High
- White Balance - Cloudy
- Colour space - Adobe RGB
- ISO - 250
- Manual focus.
- I chose my Sigma 105 mm 1:2,8 DG MACRO, remote shutter release cable and tripod. The shutter speed had be relatively fast for two reasons: 1. I have to freeze the movement if any of this tall stemmed flower head and secondly, the higher ISO.
- Aperture setting of f/3.3

Fig 1.
The image where the camera has measured the light and evaluated the correct exposure
1/350 sec
I find there is very small amount of clipping and highlights on the tips of the white beard on Sepal.

Fig 2.
1/500 sec
-0.5
No clipping and all of the detailed markings of the Iris are quite clear.

Fig 3.
1/750 sec
-1.0
True to the colour of the flower in my garden. Very clear detailing seen throughout the flower head.
My preferred image of this set

Fig 4.
1/250sec.
Again a very small amount of clipping on the white beard on the Sepal, I am pleased with the way the flower head stands out, Majestically from the out of focus background.
fig+5.jpg)
Fig 5.
1/250 sec.
Much clipping and highlights in this image, the top of the Sepal and the beard again.
Fine detail in the veining is lost in this image.
Spot Metering
This is a new technique for me, read my camera manual to learn about this particular method of measuring exposure,I am fairly pleased with the effort below. I chose a macro lens as I wanted to eliminate any distracting background and I placed the stone statue close to a wall which was similar in colour.
I wanted the background to be out of focus and also a soft image...with the face filling the frame.
I chose to use an f/stop of f/11. and an ISO 100.
I left the auto white balance on Auto.

Fig 1. 1/60 sec.
Image where the camera measured the light and evaluated the correct exposure.
The detail on the face is defined, there is texture visible.
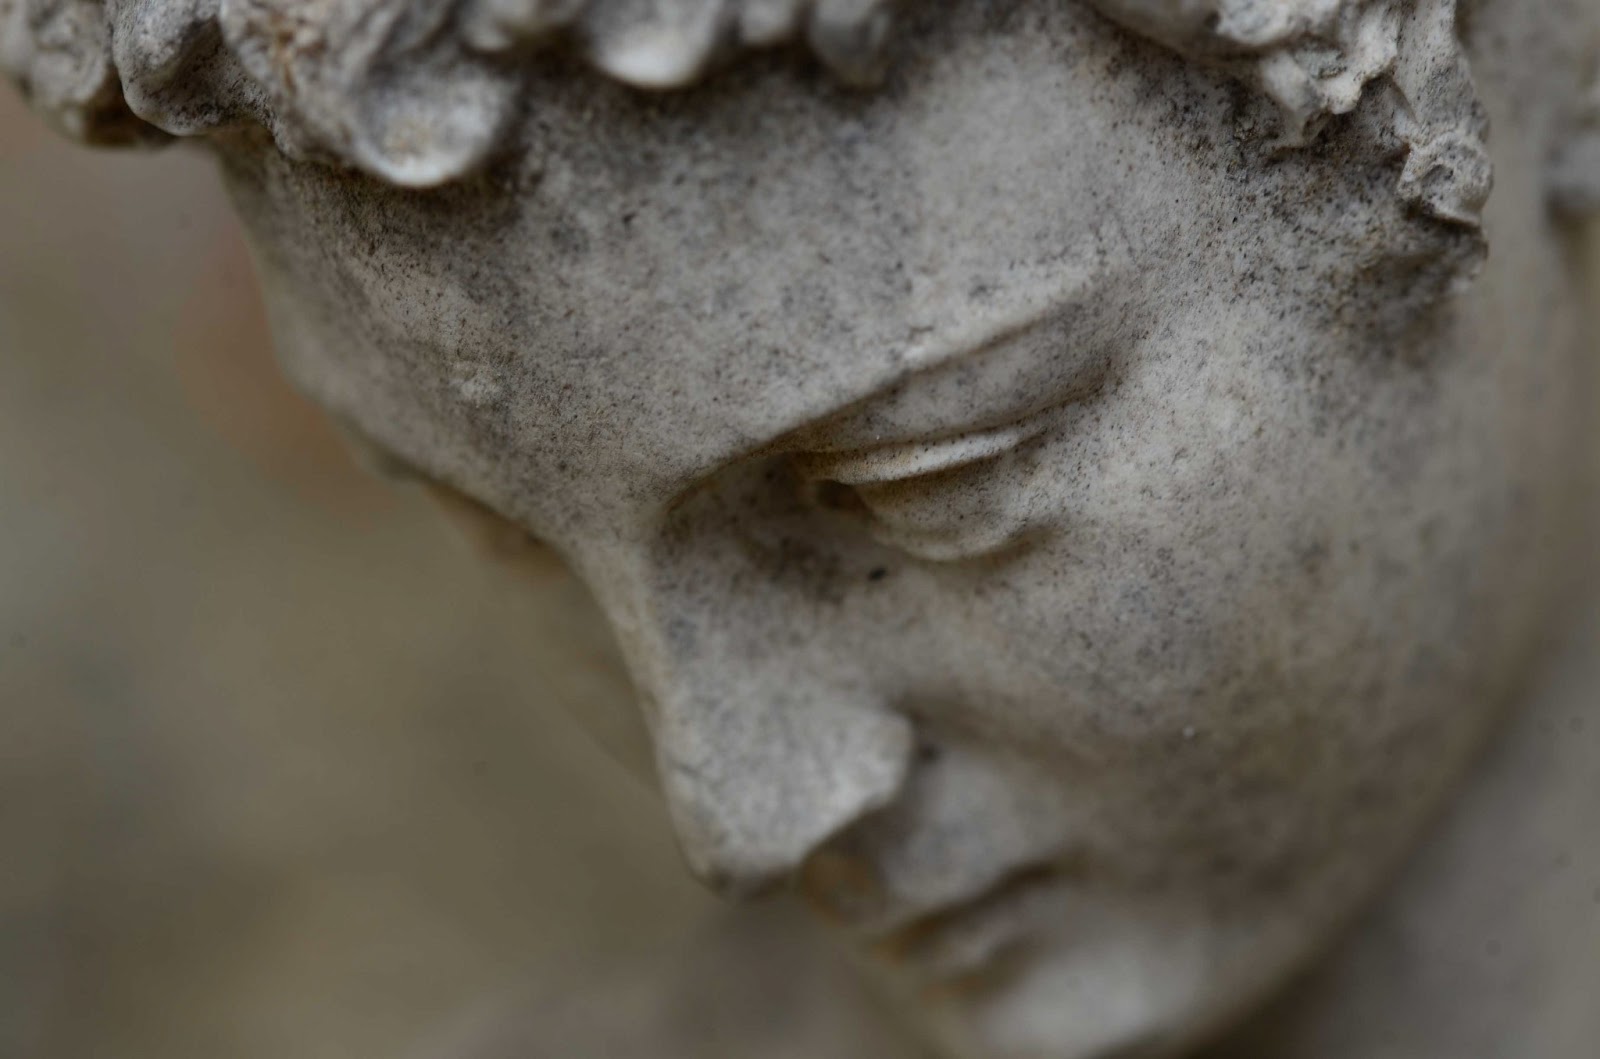
Fig 2. 1/90 sec.
Measured exposure - 0.5EV

Fig 3. 1/125 sec.
Measured exposure - 1.0EV
The hardness of the stone, stands proud from the background, again much texture to be seen.

Fig 4. 1/30 sec.
Measured exposure + 0.5EV
Detail is defined, and again the face stands away from the out of focus background.

Fig 5. 1/20 sec.
Measured exposure + 1.0EV
This is my preferred image, I like the similarity of this image to a high key image. It is unnaturally light, most of the harsh shadows are blown out. There is no contrast just brightness. The depth of field is very shallow, which pumps up the brightness even further.
Matrix metering which is the standard in my camera was used for this set of images, taken in the small french village of Forces.
There is so much architectural interest and history in the buildings which are built in a round, surrounding the village green.
I was passing through this village late morning and took the opportunity to capture a small piece of its beauty.
The lens I chose was my 18 - 105 mm, I did not use the tripod.
Aperture priority at f/11

Fig 1.
1/30 sec.
The image where the camera measured the light and evaluated the correct exposure.
There is a small amount of clipping on the chimney to the right of the photo, the wall behind the Balustrade and the planters are blown.
.jpg)
Fig 2. -0.5EV
My preferred image. There is less clipping in this image, mostly on the post towards the front of the image. Details in the roof tiles can be seen

Fig 3. -1.0EV
Clipping on the pots at the front of the building, detail can be picked out in the roof tiles and the roof tower.

Fig 4. +0.5EV
Fig 5. + 1.0EV
Loss of detail in both these images. These two images made me realise that I had to look at my camera set up, and make changes to the settings. which I did before taking the set of Iris images.
For the final part of this exercise I chose to capture the view from an upstairs window in my house in Lascazeres, France. There is a lot of contrast in the scene, with the light areas of ground and the various greens throughout the garden. Complimented by the clear blue sky.
I chose Matrix metering for this set of images,
1. ISO 100.
2. White balance Auto.
3. Aperture priority.
4. 8 -105 lens.
5. Colour Space sRGB
In editing I chose to crop slightly the right edge of these images to remove a small area of pine tree, which was very close to the window.

Fig 1 -1 EV
The histogram for this image shows a very dark area, caused by the tree in foreground. It is very nearly a silhouette. There are no highlights or clipping in this image.

Fig 2 -0.5 EV
My preferred image.
The histogram for this image shows a less dark image, and a minute spot of clipping on the arched doorway.
There is detail in the trees and the buildings.

Fig 3 Average EV
There is more detail in the tree in the foreground and the central tree. Again I find a very small amount of clipping on the archway, and I see that detail on the barns has been lost.

Fig 4 + 0.5 EV
Clipping is seen on the ground beyond the edge of the reflection and on the barn. The histogram shows no dark or light areas.

Fig 5 +1.0 EV
The histogram shows an image that is over exposed. The clouds show clipping along with most of the ground area and buildings. There is a complete loss of detail in this image.
The pine tree in the foreground shows much more detail.
What I have learnt from this exercise.
I feel that there is no correct exposure when taking images, just guidelines. It is a very personal taste. A camera may show you what it feels is correct but it is down to the creativity and vision of the person taking the photograph.
I have really struggled with the overexposed images in this exercise, I have come to realise that I prefer the underexposed images as it brings out more colour, even though there is less detail.
I have not used adobe CR except for cropping. When I have more time I would experiment with altering exposure levels in CR, and fill light, to bring back detail that has been lost.
No comments:
Post a Comment